Introduction
Regular oil changes are essential for keeping your car's engine running smoothly and prolonging its lifespan. Part of this routine maintenance involves replacing the oil filter. While this task might seem daunting to some, it's a relatively simple process that you can do yourself with a few tools and some basic knowledge. In this DIY guide, we'll walk you through the steps of changing your car's oil filter, helping you save money and maintain your vehicle's performance. Plus, we'll introduce you to CarPart, a convenient online platform in Australia where you can buy or sell car parts.
Step 1: Gather Your Tools and Supplies
Before you begin, make sure you have the following items:
- New oil filter (check your vehicle's manual for the correct filter)
- Oil filter wrench or a strap wrench
- Oil drain pan
- Ratchet and socket set
- Funnel
- Oil filter gasket (if not included with the new filter)
- A few quarts of the appropriate engine oil
Step 2: Prepare Your Vehicle
- Park your car on a level surface and engage the parking brake.
- Let the engine cool down to avoid burns from hot oil.
- Gather your tools and supplies and wear appropriate safety gear, such as gloves and safety glasses.
Step 3: Locate the Oil Filter
The oil filter is typically located underneath the engine. Refer to your vehicle's manual or consult online resources to find the exact location.
Step 4: Drain the Old Oil
- Place the oil drain pan under the oil pan plug, which is usually located on the underside of the engine.
- Use the ratchet and socket set to remove the oil pan plug and let the old oil drain into the pan.
- Allow all the old oil to drain completely.
Step 5: Remove the Old Oil Filter
- Use the oil filter wrench or strap wrench to loosen and remove the old oil filter.
- Be prepared for some oil to spill out, so have the drain pan handy.
- Make sure the old filter's rubber gasket comes off with it. If it sticks to the engine, remove it carefully.
Step 6: Prep the New Oil Filter
- Apply a small amount of fresh oil to the rubber gasket on the new oil filter. This helps create a proper seal and makes it easier to remove during the next oil change.
- Check that the gasket from the old filter isn't still stuck to the engine.
Step 7: Install the New Oil Filter
- Screw the new oil filter onto the filter housing by hand until it's snug. Then, tighten it an additional ¾ to 1 full turn using the oil filter wrench.
- Ensure the filter is securely attached, but avoid overtightening, as it can damage the gasket.
Step 8: Add Fresh Oil
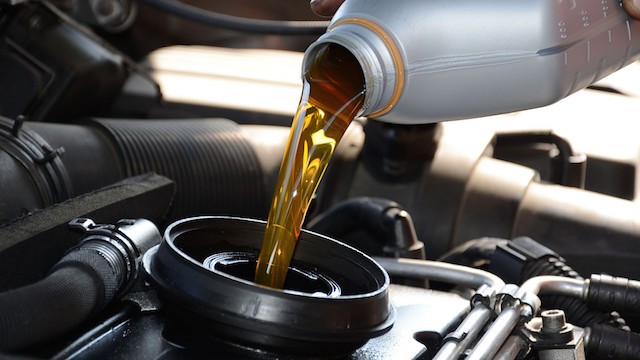
- Use a funnel to pour the recommended amount and type of engine oil into the engine.
- Check your vehicle's manual for the specific oil capacity and type.
- Replace the oil fill cap when finished.
Step 9: Check the Oil Level
- Start the engine and let it run for a few minutes to circulate the oil.
- Turn off the engine and wait a couple of minutes for the oil to settle.
- Check the oil level using the dipstick and add more oil if necessary.
Step 10: Dispose of the Old Oil and Filter
Properly dispose of the old oil and filter. Many auto parts stores and recycling centers accept used oil and filters for recycling.
Conclusion
Changing your car's oil filter is a relatively straightforward DIY task that can save you money and help maintain your vehicle's engine health. Regular maintenance like this can extend the life of your car and keep it running smoothly. If you ever need to replace the oil filter or any other car parts, you can explore CarPart (https://carpart.com.au/), the online platform in Australia where you can conveniently buy or sell car parts. CarPart provides a wide range of options for all your automotive needs.

